
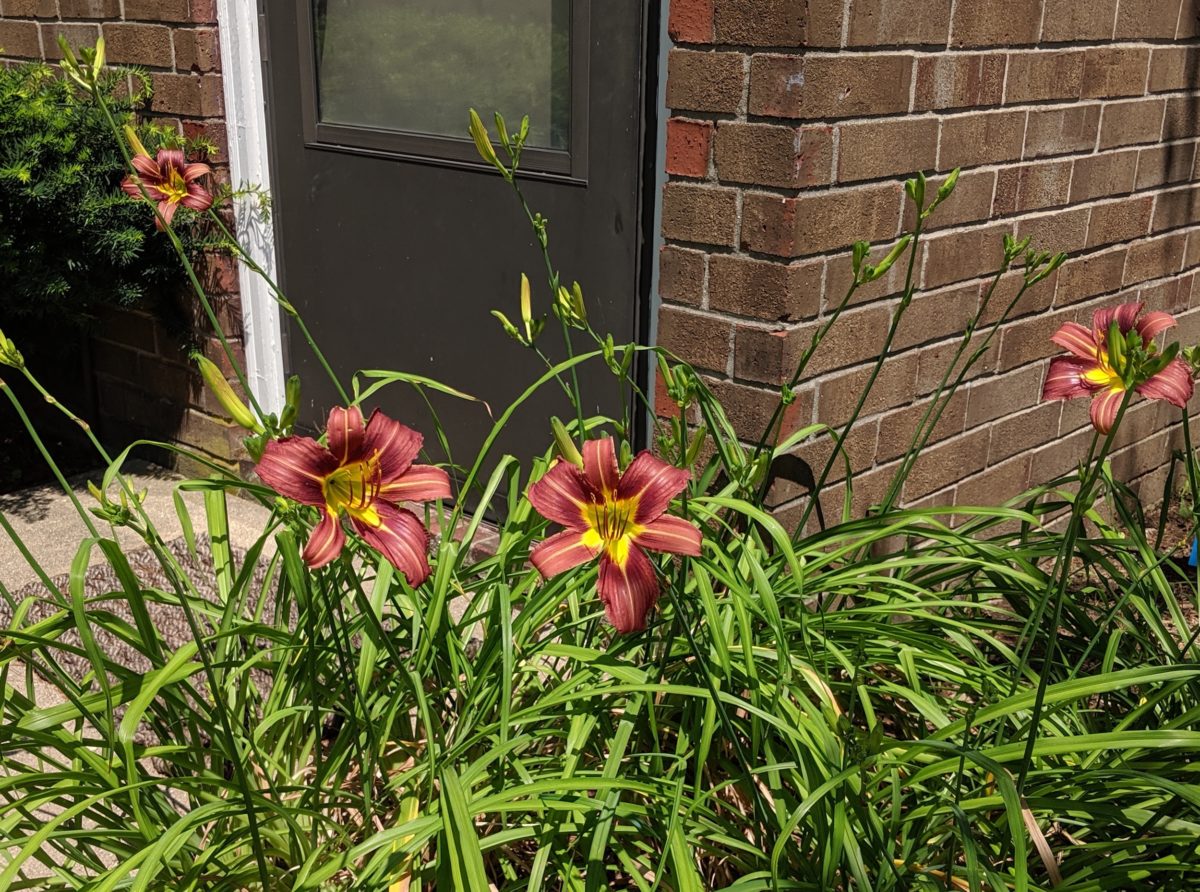
I’d though we’d hit peak lilies a couple of days ago, but nope. Yesterday: #lilycount 44!
I’d though we’d hit peak lilies a couple of days ago, but nope. Yesterday: #lilycount 44!

#lilycount 34 Bonus: you can see our gargoyle Spleenwart way over at the left.
I mentioned a few days ago that I’d got my microblogging working about the way I wanted. There was one exception to that: my “images” workflow.
There’s pretty good “media library” functionality built into WordPress, but I’ve always found it a bit too blog-centric in how it works to be a good general solution to images hosting.
I was a Flickr user from way back, but when the new owners ruined it I decided I should host my own images, and ended up going with Lychee to provide self-hosting functionality.
Lychee works great, but it took me a while to sort out how to integrate images hosted there into my blog.
Here’s what I’ve ended up doing:
Here, for example, is an image I took yesterday:

Pretty much everything works the way I want it to now. The images are hosted on images.philipbrewer.net, I have access to small, medium, and large versions of the images, and an easy-enough way to include them in a blog post.
Two things that could work better:
Still, after a bunch of posts where I was testing things out, in which things didn’t work quite they way I wanted them to, I’ve now got things just about set.
“🎶 Inchworm, Inchworm / Totting up the / Lilycount 🎵”
#lilycount 21 (Full disclosure: As far as I know there is no inchworm in this picture.)


I went for a long-for-me, 7.22-mile run this morning, and listened to a podcast about light therapy.
(I go back and forth on listening to podcasts during runs. When I listen I feel like I miss out on being fully embodied in my physical activity. When I don’t listen I fall behind on stuff I really want to listen to. Today I listened.)
The podcast had Paleo Magazineʼs Ashleigh Van Houten interviewing Scott Nelson, the founder of Joovv, talking about the health benefits of exposing your skin to red and near-infrared light. I’d heard about this, but had assumed it was some woo-woo new-agey thing. Turns out it’s probably not. There’s been a huge amount of research on the benefits of exposing your skin to red light in the 660-nanometer and near-infrared light in 850-nanometer range.
(There was apparently a lot of research funded by NASA back in the 1990s when they had to use lasers to get light of just the right frequency. Nowadays LEDs make it easy to get the intensity and frequency of light that you want.)
So, I’m out on my run, listening to Ashleigh and Scott talk about all the health benefits to your skin (of the red light) and to deeper connective tissues (of the near-infrared) and thinking that it all sounds really cool, but knowing that I’m probably never going to want to spend even hundreds, let alone thousands, of dollars to buy a device that will shine bright red light on my skin.
At around the mid-point, maybe 4 miles into my run, I paused for a drink of water out of the fountain in Morrissey Park, thinking it was pretty hot for just 8:40 AM . Which made me think of this giant glowing orb in the sky, which was shining down on me with pretty intense light at a wide range of frequencies, most definitely including red and near-infrared.
Turns out, sure enough—the energy in the red and near-infrared frequencies of sunlight is right in the range of therapeutic doses shown to have health benefits.
Of course, full sunlight is full of other frequencies of light, including blue (prone to mess up your circadian rhythm if you’re exposed too close to bedtime, but just what you want to get your circadian rhythm set correctly if you get your exposure in the early morning like I was doing), and ultraviolet (dangerous in excess, but the UV index was zero when I started my run at 7:40 AM and probably didn’t reach 5 before I was safely back indoors). So you need to treat sunlight with respect. But I already knew that.
I have mentioned before that I feel better when I spend a lot of time outdoors, and have speculated that sun exposure is part of the reason. (Along with time in nature, moving more, appropriate quantities of community and solitude, etc.) The information about red and near-infrared light exposure seems to lean a bit in the sunlight direction—but with the welcome news that it’s not just the vitamin D that helps make me feel better, which means maybe I can feel great without having to expose myself so much to the deadly actinic rays of the sun.
Maybe there are non-deadly actinic rays!
#lilycount 27!

I assume that @jackieLbrewer has already noticed that the #lilycount is 13. (Ooh! We also had 13 lilies exactly one year ago!)

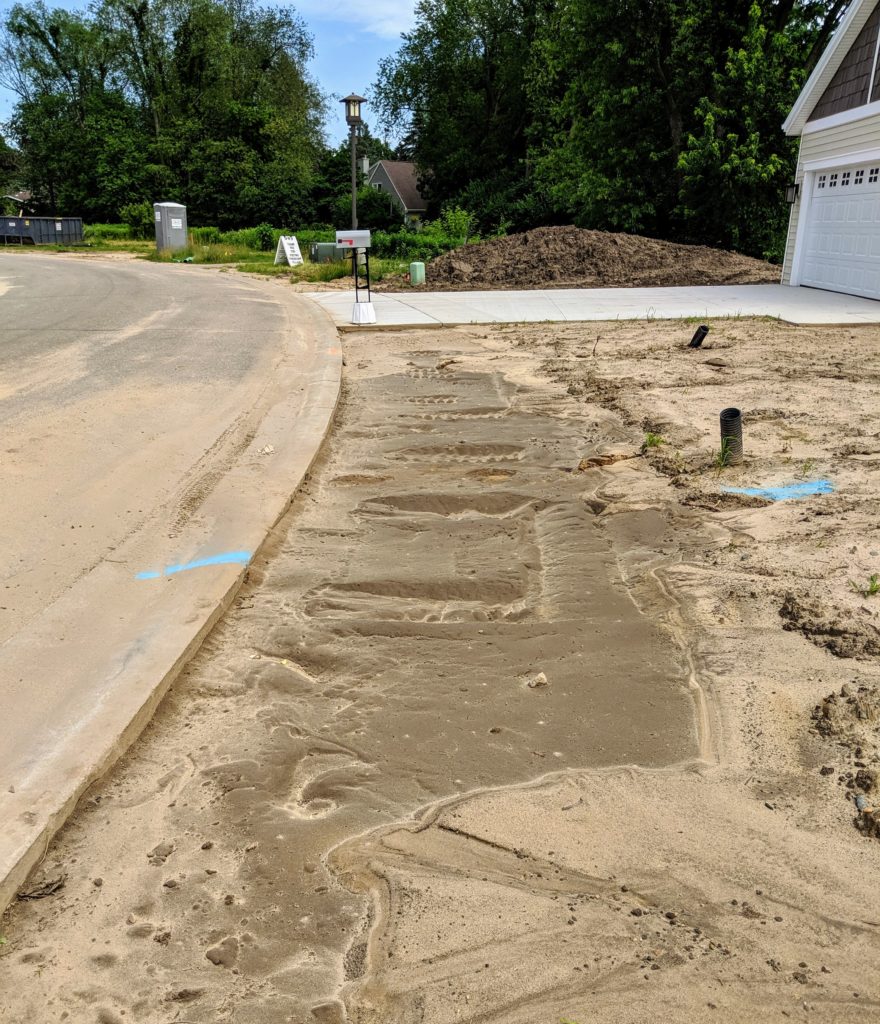
The bed where the sidewalks are going to go near my dad’s new house is this silty sand: An interesting barefoot walking experience.
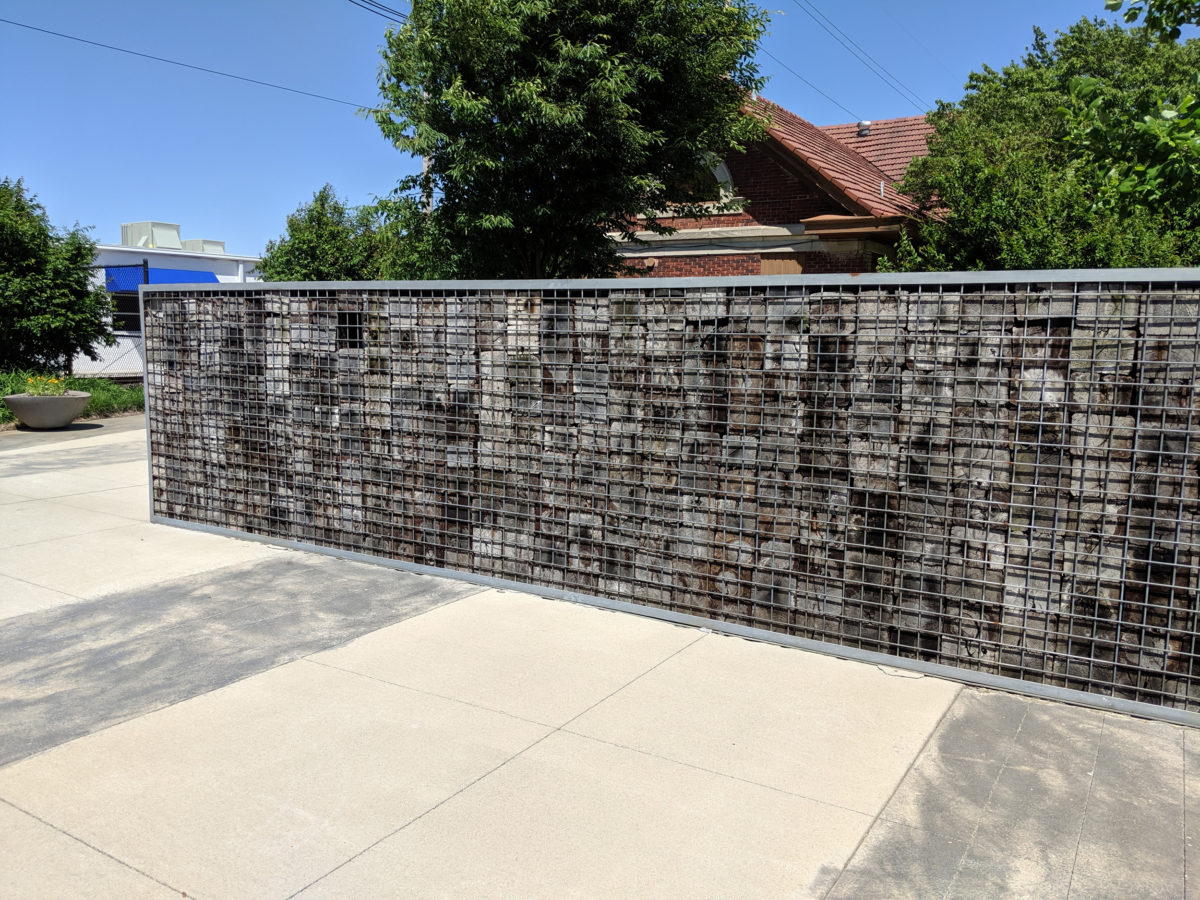
Here’s the awesome wall for practicing cat hangs that I mentioned yesterday.